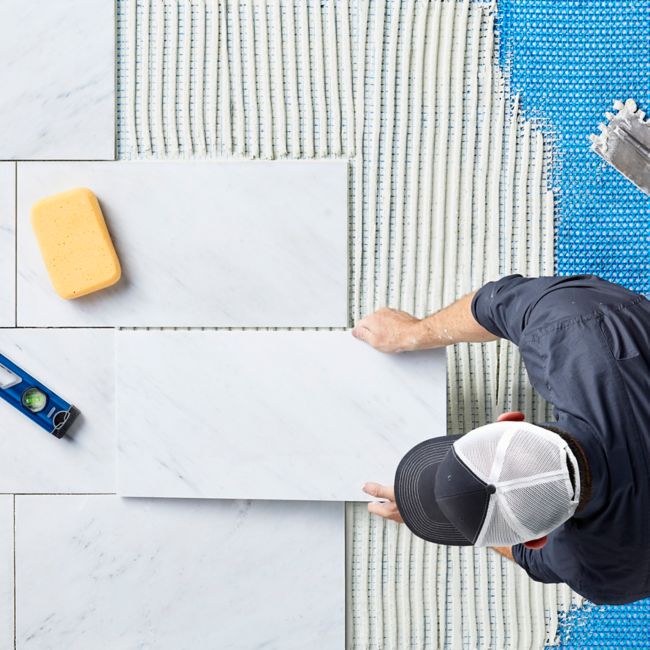
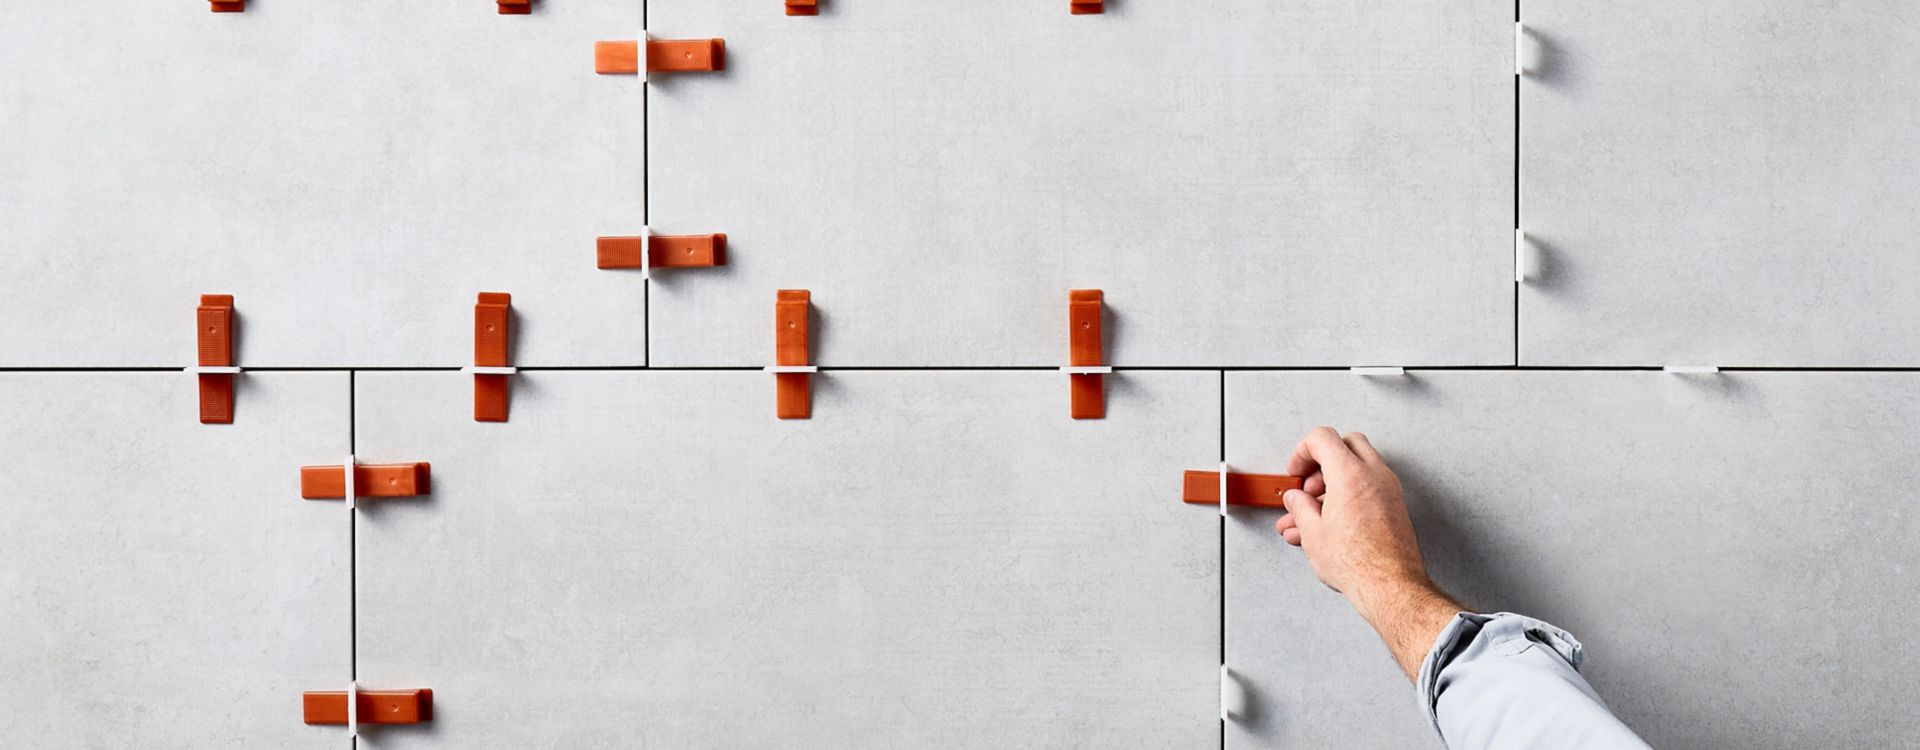
It’s time to learn how to lay the tile! Don’t forget to use spacers in between tiles to ensure consistent gap and grout lines throughout your installation.
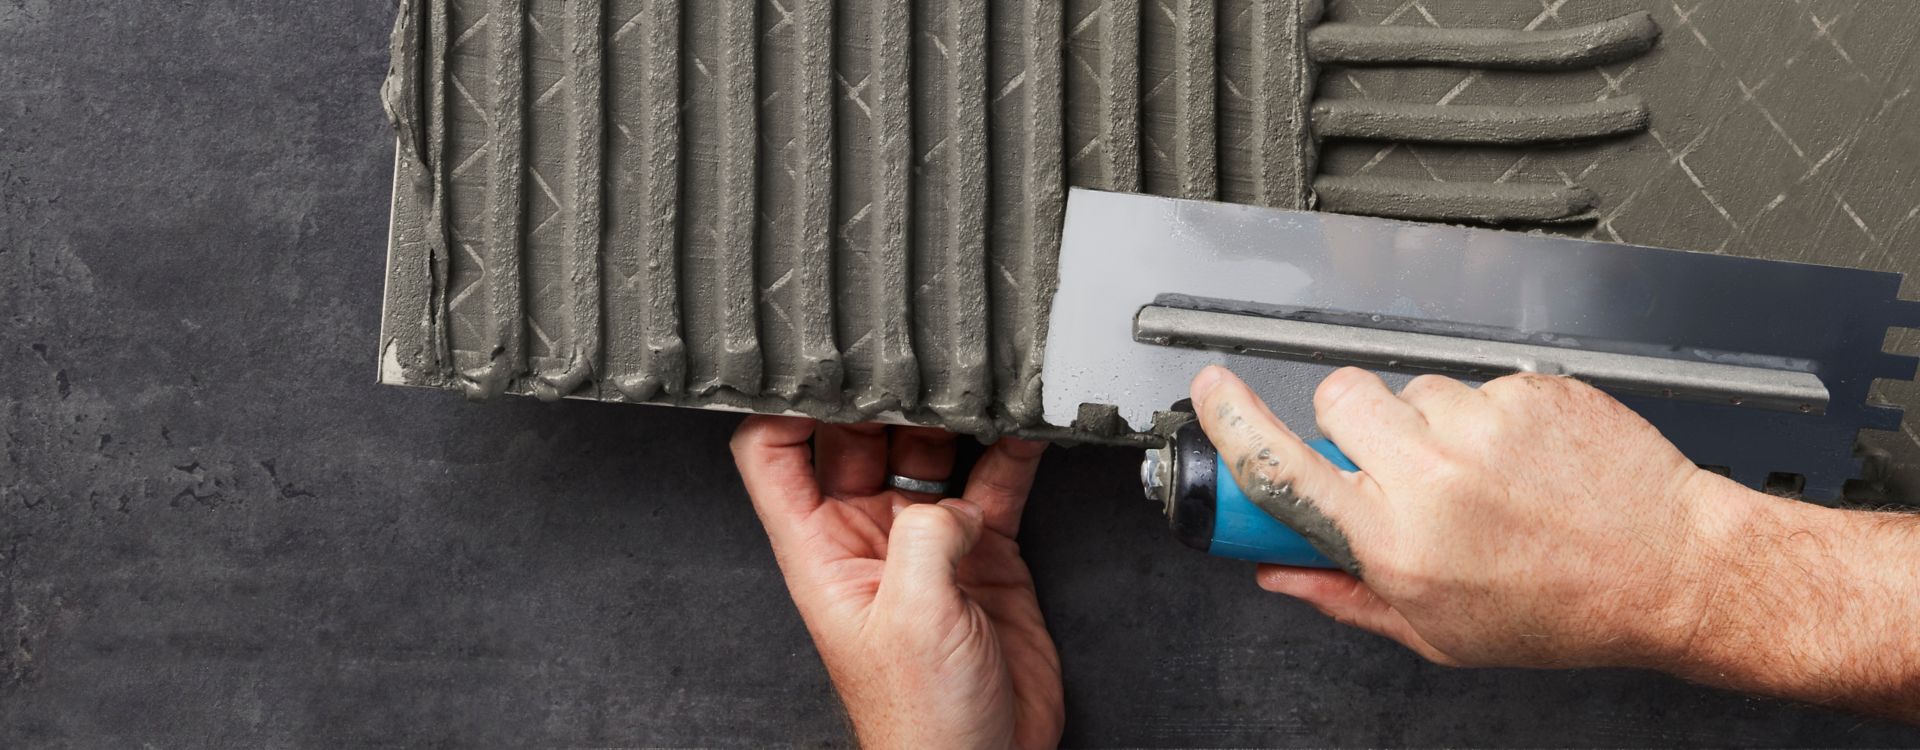
When you set a tile into thinset, apply firm, even pressure. Wiggle the tile back and forth a bit to allow the ridges in the thinset to break down and fill in the valleys. This creates a solid layer of thinset beneath the tile.
After placing your first tile, lift it up and check that 80-90% of the back is covered with thinset. If you don’t have enough coverage, recheck the consistency and make sure you are using the correct size trowel at the correct angle.
Set your tiles in your chosen layout pattern (being sure to use spacers) until you reach the edge of the room. You have two options for the cut tiles at the edges:
- Lay down as many full tiles as possible first and save the cutting for after the floor has set, allowing you to walk on the floor while you work on the edges.
- Cut and install the edge tiles as you move along.
You’ll want to leave at least an eighth of an inch between the tile and the wall to allow for the natural expansion, contraction or shifting of the house. This space will generally be covered with wall tile or trim and caulked.
Check out our comprehensive guide on how to cut tile to ensure the cleanest cuts possible.